
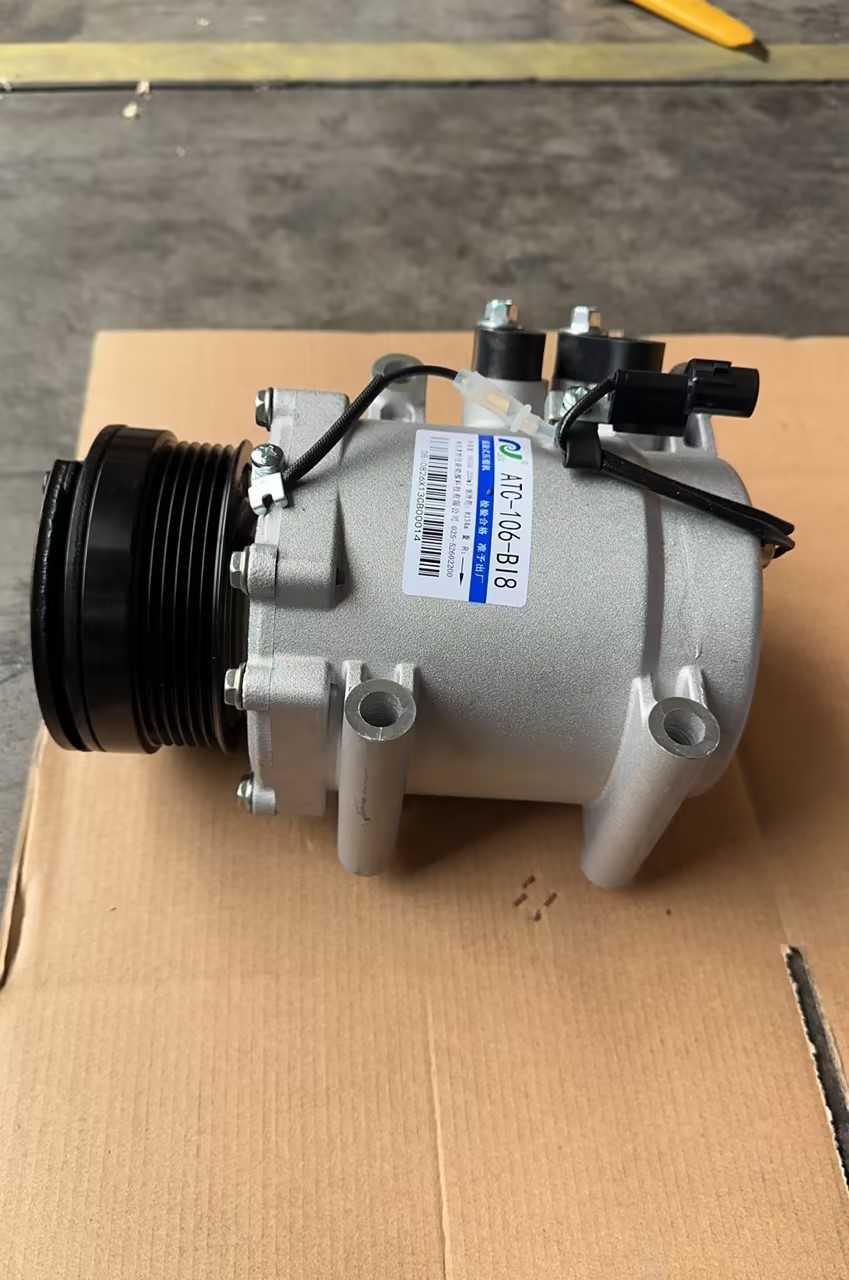
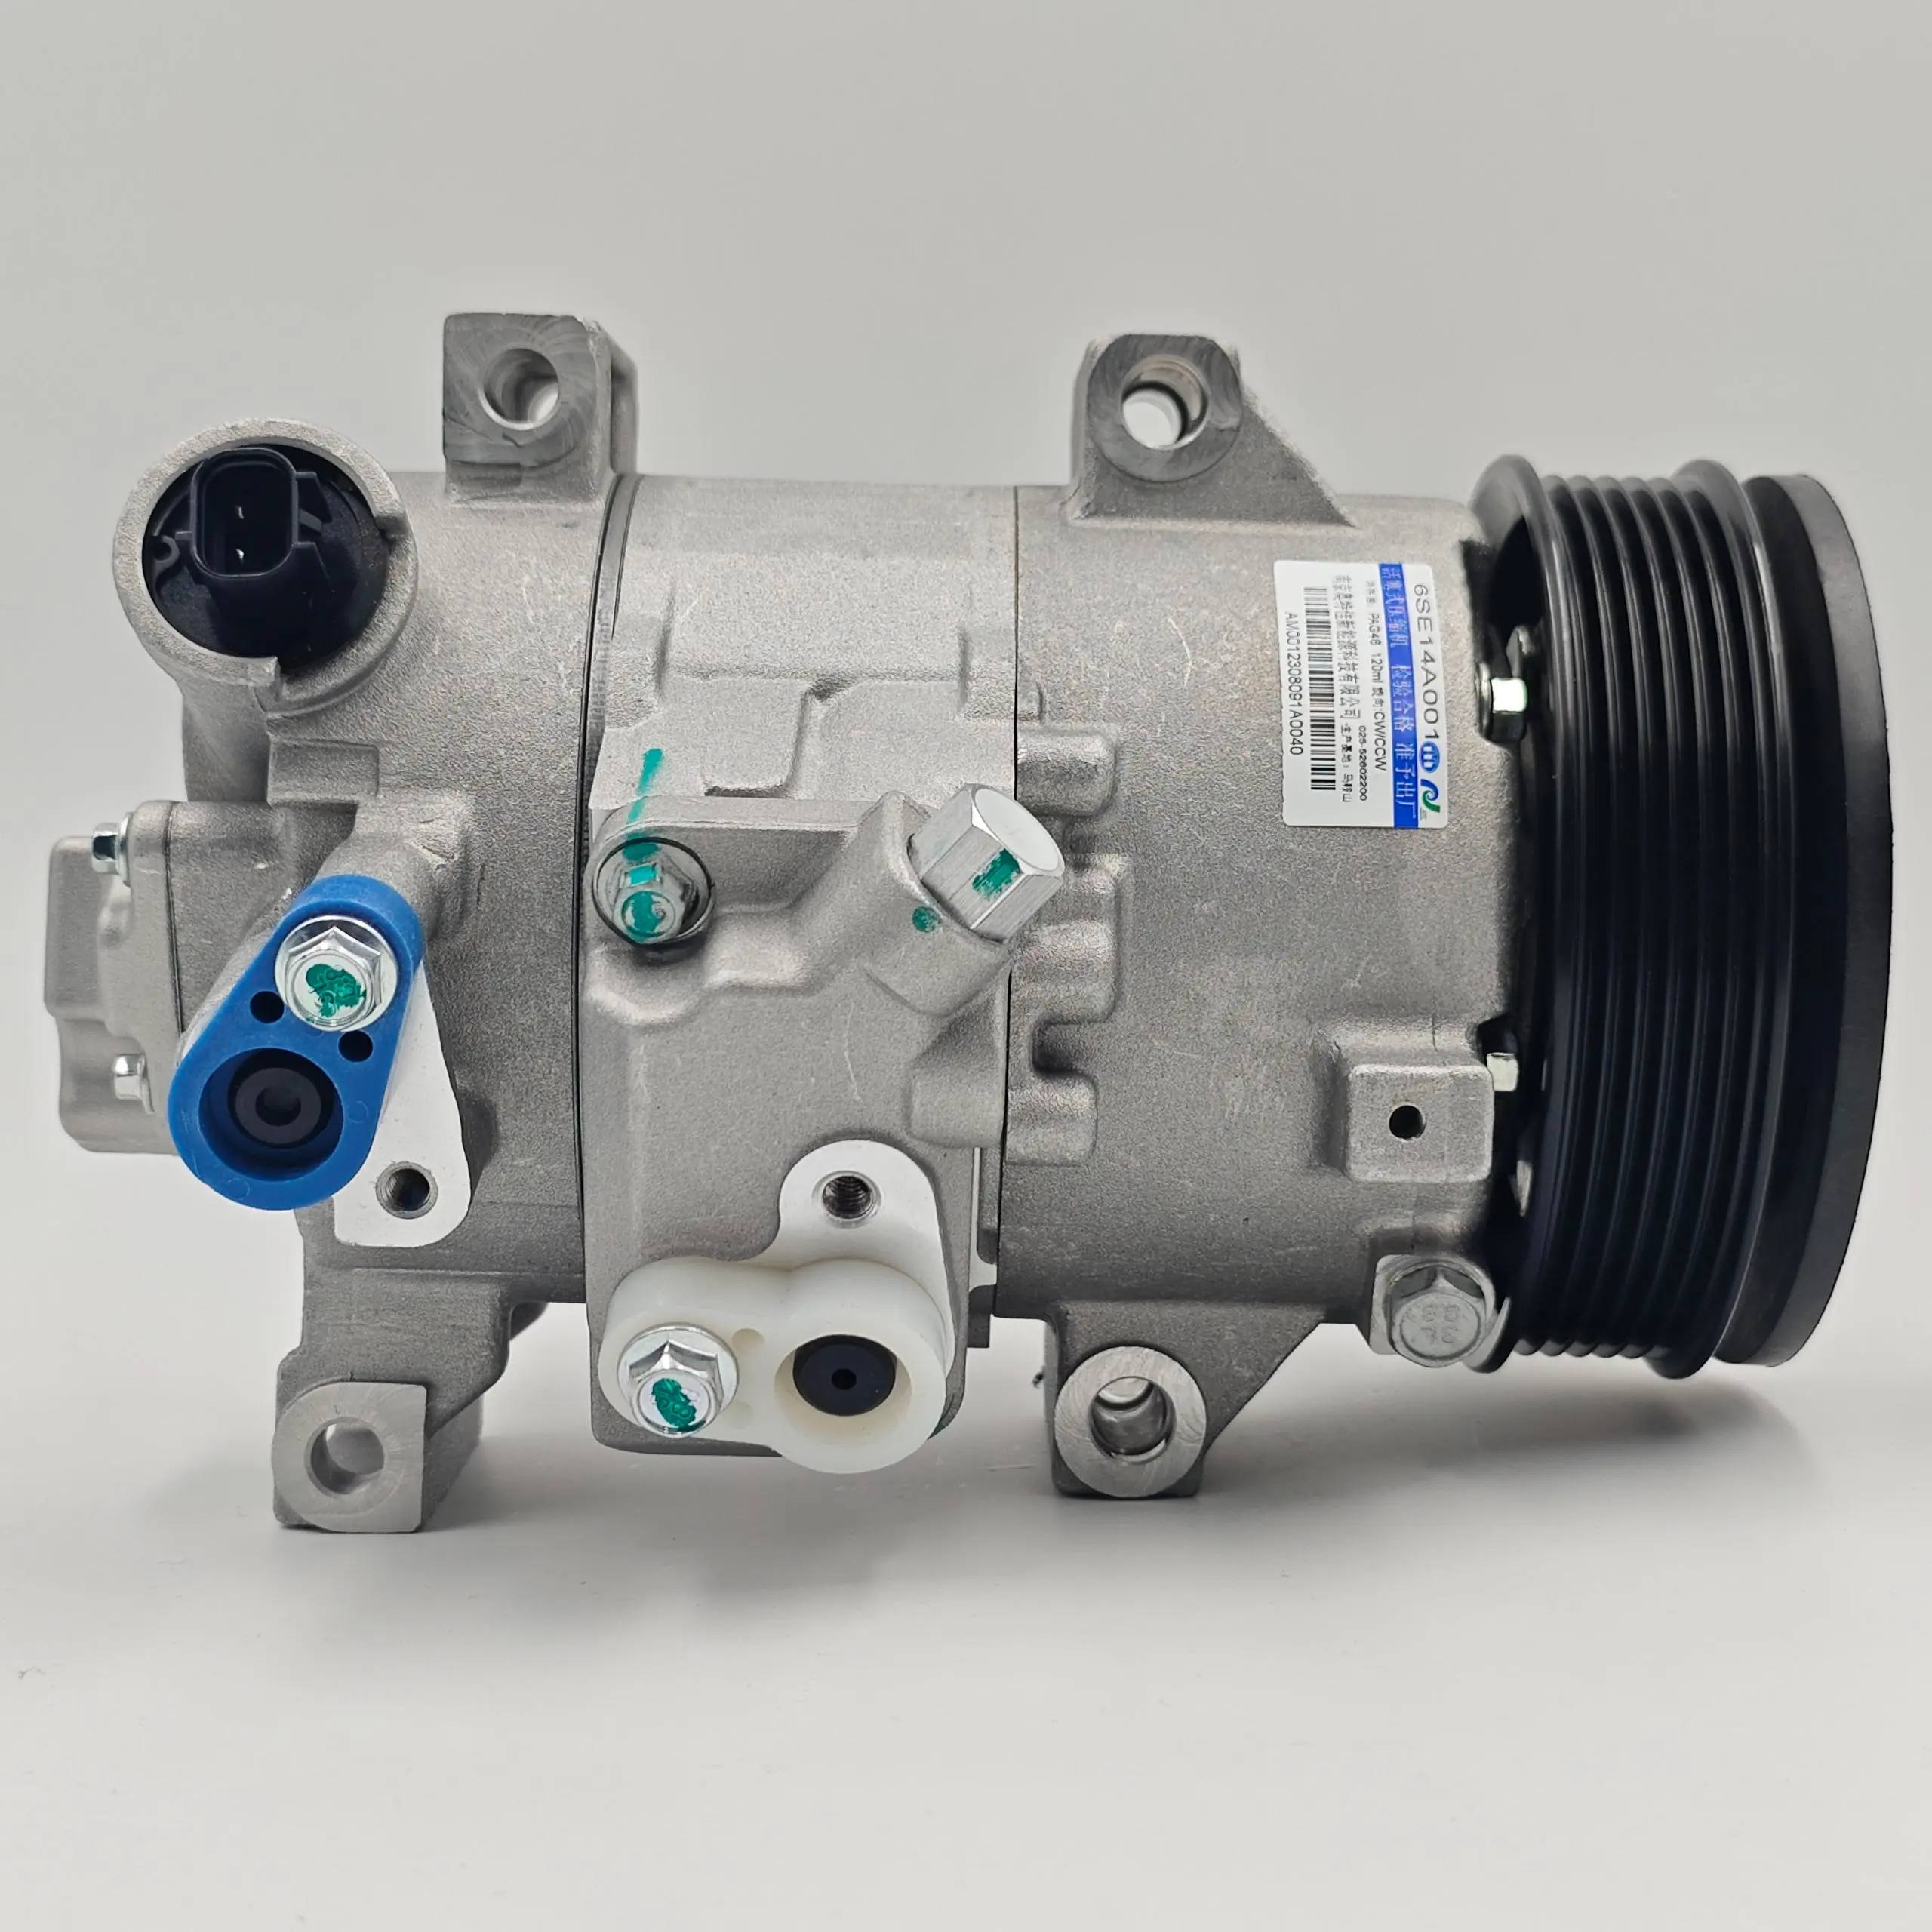
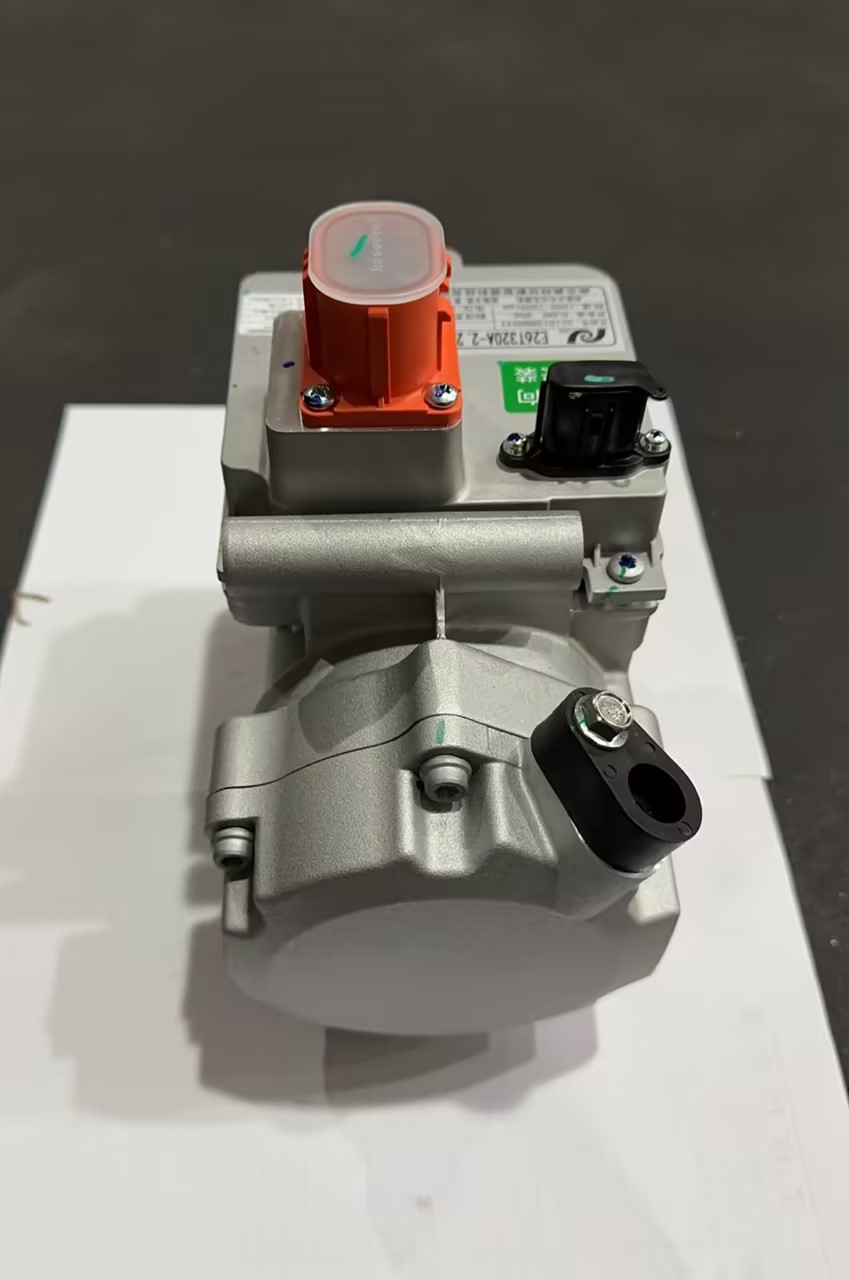
Article summary: To safely use an electric compressor, place it on a stable, well-ventilated surface. Inspect the power supply and air connections before starting the unit according to the operating instructions. Adjust the outlet pressure to match the connected tool and monitor the compressor’s operation throughout the job. MI-T-M’s electric air compressor operating instructions and OSHA’s compressed-air safety resources emphasise the importance of proper setup, pressure control, suitable protective equipment, and the safe handling of pressurised air. The exact procedure depends on the compressor model and its intended application.
What Is an Electric Compressor?
An electric compressor is a machine that uses an electric motor to compress gas, most commonly air, and deliver it at a higher pressure for a specific purpose. In workshops, garages, factories and construction environments, the term ‘electric compressor’ often refers to an electric air compressor used to inflate tyres, power pneumatic tools, operate spray equipment or supply compressed air to production machinery. Industrial systems may use larger reciprocating or rotary screw compressors to support continuous operations, automated equipment and multiple workstations.
While compressor designs vary, most electric air compressors operate according to the same fundamental principle: the motor powers a compression mechanism that raises the air pressure, and the compressed air is either stored in a receiver tank or supplied directly to the application. A regulator controls the outlet pressure delivered to the tool, while gauges help the operator to monitor pressure conditions. Many tank-type models also have a pressure switch that automatically stops the motor when the tank reaches its preset cut-out pressure, restarting it when the pressure drops again. While these controls support normal operation, they do not eliminate the need to follow the manufacturer’s instructions.
Before using an electric compressor, identify its type and intended use. For example, a small, portable unit designed for intermittent nail gun or inflation work is not equivalent to an industrial compressor intended for extended production cycles. Motor power, tank capacity, airflow, pressure rating, duty cycle, and air quality all affect suitability. Understanding these specifications helps to prevent overloading the machine and ensures that the connected tool receives enough air to function correctly.
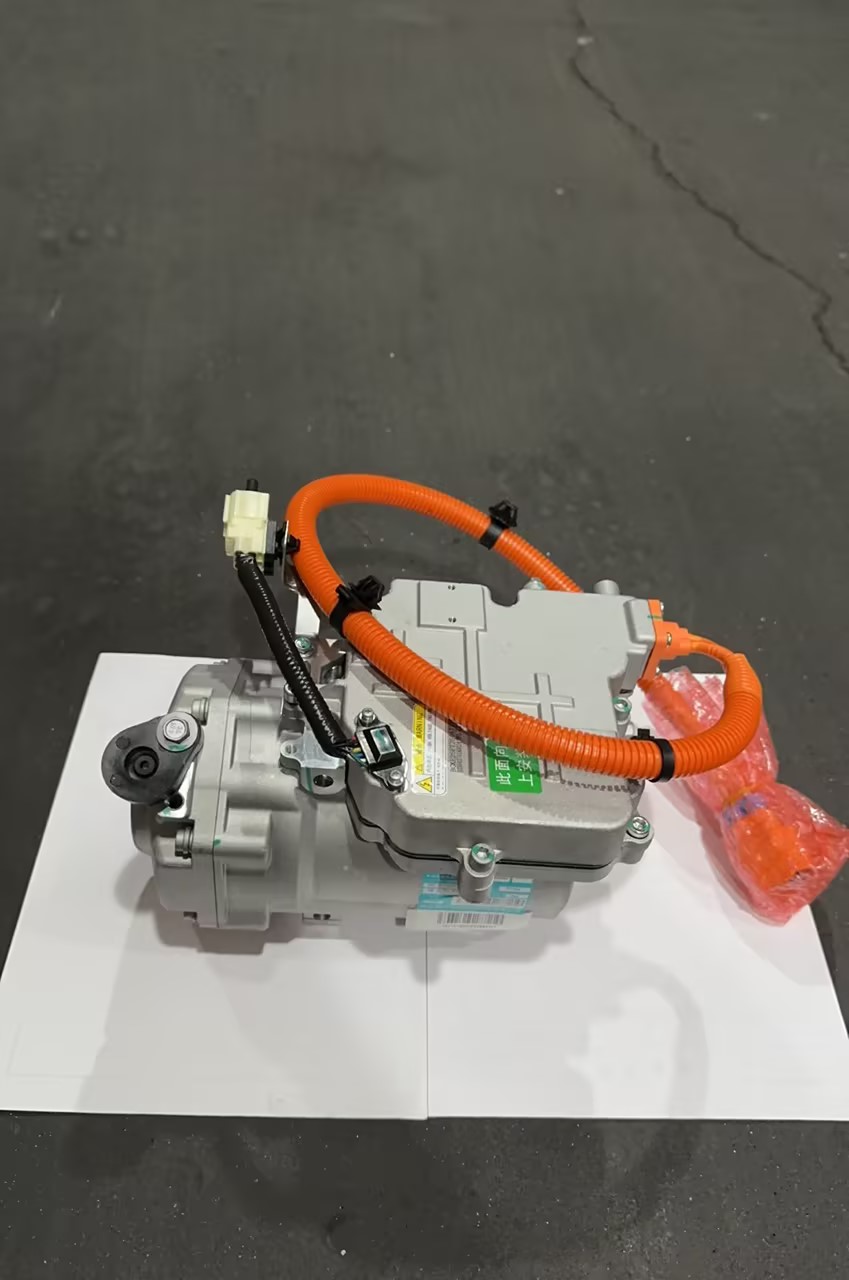
Understand the Main Components Before Starting
Familiarising yourself with the main controls will make the operating process easier to follow and help you recognise abnormal conditions. Most electric air compressors include a motor and pump, an air receiver or tank (if applicable), a pressure gauge, an outlet pressure regulator, a pressure switch, an air outlet and a drain valve. Depending on the model, the system may also include an intake filter, a safety relief valve, a check valve, a cooling fan, an oil sight glass, and an automatic condensate drain. Each component serves a different purpose, so operators should not assume that controls are located or configured identically across brands.
The tank pressure gauge indicates the pressure stored in the receiver, while the regulator gauge, if fitted, shows the pressure delivered downstream. These readings are not interchangeable: a tank can contain air at a relatively high pressure, but the regulator may supply a lower pressure to a pneumatic tool. The regulator should be adjusted to the recommended operating pressure specified by the tool manufacturer, rather than simply being turned to its maximum setting. The safety relief valve is a protective device designed to release pressure under abnormal conditions. It should never be blocked, removed, or adjusted to increase the compressor’s output.
The drain valve is another important component because moisture condenses as compressed air cools. Water can collect inside the tank and, in some systems, in filters, dryers, and other low-lying areas. If condensate is not managed according to the manual, it can contribute to corrosion, reduce air quality, or interfere with downstream equipment. Therefore, correctly using an electric compressor involves more than just switching on the motor; it also requires an understanding of pressure control, condensate management, and the safety features fitted to the specific machine.
How to Use an Electric Compressor Step by Step?
The correct procedure starts before the power switch is turned on. Although portable compressors and industrial units differ in design, the following workflow applies to many conventional electric air compressors used for general workshop tasks. Always treat the model-specific manual as the controlling reference, particularly for lubrication, electrical connections, pressure limits, startup controls, and shutdown instructions.
Step 1: Position the compressor and inspect the equipment
Place the electric compressor on a stable, level surface in an area with adequate ventilation and sufficient space for cooling airflow and routine maintenance. Keep the air intake away from dust, paint mist, chemical vapours, vehicle exhaust fumes and other contaminants that could enter the compressed air stream. Before use, inspect the power cord, plug, hoses, fittings, guards, tank and visible controls for any damage, corrosion or loose connections. Do not operate the unit if the tank shows significant corrosion, the safety valve appears damaged, or the electrical components are defective, until it has been assessed by a qualified technician.
Step 2: Check lubrication and electrical requirements
First, determine whether the compressor is oil-lubricated or oil-free. If it is oil-lubricated, check the oil level and use only the grade specified by the manufacturer. Never add oil to a model that does not require it. Ensure that the available electrical supply matches the compressor’s voltage, frequency, current requirements, and grounding arrangements. It is important to use a suitable, properly rated circuit because an undersized supply or an unsuitable extension cord can cause voltage drop, overheating, or start-up problems. Follow the instructions in the manual for connecting the power supply and do not modify plugs, bypass the grounding system, or use damaged electrical equipment.
Step 3: Connect the hose and pneumatic tool
With the compressor switched off and the outlet pressure safely controlled, connect a pressure-rated hose that is compatible with the fittings. Secure all couplings, then check the hose for cuts, abrasions, kinks, and signs of deterioration. Attach the pneumatic tool according to the instructions provided, ensuring that any required retaining clips, guards, or accessories are installed correctly. Check that the compressor’s air delivery meets the tool’s requirements by checking both the operating pressure and the airflow, rather than relying on the compressor’s maximum pressure rating alone.
Step 4: Start the compressor and allow pressure to build
Ensure that the regulator is set appropriately for startup and that the connected tool is not being operated unexpectedly. Switch on the compressor using its specified control, then allow the tank to build pressure. On many tank-type models, the motor stops automatically when the preset cut-out pressure is reached; the motor may restart later as air is consumed. Watch the pressure gauges and listen for abnormal noise, excessive vibration, or signs of leakage. If the unit repeatedly trips a circuit breaker, fails to build pressure, or behaves unusually, switch it off and investigate rather than continuing to operate it.
Step 5: Adjust outlet pressure and test the tool
Once the compressor has reached a suitable operating condition, adjust the regulator to the pressure recommended by the pneumatic tool manufacturer. Make small adjustments and test the tool on a safe, controlled task before starting full production work. If the tool loses power during use, check whether the compressor’s airflow capacity, hose diameter, fittings, or duty cycle is inadequate; increasing pressure beyond the tool’s rated limit is not a safe substitute for sufficient airflow. If the system supplies several tools, calculate the combined demand and account for simultaneous use and pressure losses throughout the distribution system.
Step 6: Monitor operation while working
During use, keep the compressor’s ventilation openings clear and observe the pressure gauges, motor cycling, hose condition, and tool performance. Stop if the unit overheats, produces unusual noises, develops a leak, or shows signs of electrical damage. Never direct compressed air toward people or use it to clean skin or clothing. When cleaning machinery or work surfaces with compressed air is permitted, follow applicable workplace rules, control flying debris, and use suitable guarding and protective equipment; OSHA specifies additional restrictions for certain workplace cleaning operations.
Which Pressure and Airflow Settings Should You Use?
One of the most common errors is assuming that the maximum pressure of the compressor is the correct setting for every tool. Pressure is usually measured in pounds per square inch (psi) or bar and describes the force available in the compressed air. Airflow is often expressed in cubic feet per minute (CFM) or litres per minute (L/min) and describes how much air the compressor can deliver over time. A tool may require a specific pressure and substantial continuous airflow, so even a compressor with a high maximum pressure rating can be unsuitable if its delivered airflow is insufficient.
The correct setting is determined by the operating specifications of the connected tool and the documented performance of the compressor. For example, a nail gun used intermittently may have a different demand profile than an air grinder or spray gun that consumes air continuously. Hose length, internal diameter, couplings, filters, and regulators can also cause pressure loss, particularly when airflow demand is high. When it comes to industrial installations, it is important to compare the required airflow of the tool at its specified pressure with the actual delivered air capacity of the compressor, rather than merely considering its theoretical displacement or advertised peak figure.
| Application | What to Check | Practical Operating Guidance |
| Tire inflation | Required tire pressure and accuracy of the inflator gauge | Use the vehicle or tire manufacturer’s pressure specification; check pressure when conditions are appropriate |
| Nail gun or stapler | Tool’s pressure range and air consumption per cycle | Set pressure within the tool’s specified range and confirm the compressor can recover between cycles |
| Impact wrench | Recommended pressure, airflow, and hose size | Use compatible fittings and sufficient airflow; avoid exceeding the tool’s rated pressure. |
| Spray painting | Spray gun pressure, airflow, and air-quality requirements | Use appropriate filtration and moisture control; follow coating and spray-gun instructions |
| Air blow gun | Permitted pressure and workplace cleaning requirements | Control flying particles and never direct air at the body; comply with applicable safety rules |
| Continuous industrial pneumatic equipment | Simultaneous demand, duty cycle, pressure losses, and air quality | Size the compressor and air treatment system for the actual operating load |
These are selection principles, not universal pressure settings. Always use the pressure and airflow values specified for the actual tool, and consult a qualified compressed-air specialist when sizing equipment for continuous production or multiple users.
How to Shut Down an Electric Compressor Safely?
A correct shutdown prevents the tool from being operated accidentally and helps to manage the stored energy inside the tank and hose. First, switch off the connected tool and the compressor using the designated controls. Unless an emergency occurs or the manufacturer’s instructions require it, do not simply pull the plug while the unit is operating. Disconnect the pneumatic tool according to the manual only, and release pressure from the hose and accessories in a controlled manner. Remember that switching off the motor does not mean that the tank has been depressurised, as compressed air can still be stored even when the compressor is silent.
After use, allow hot components to cool before handling them or performing routine checks. Drain accumulated condensate according to the manufacturer’s instructions. Wear suitable eye protection and direct the drain outlet away from people, as pressurised water and debris may be expelled. Some systems require a specific tank pressure before draining can begin, so do not assume that every drain valve should be opened at the same pressure. If storing the unit, leave it in the condition specified in the manual, ensuring the drain valve, power connection, and accessories are managed appropriately.
Electric Compressor Maintenance Checklist
Routine maintenance helps preserve airflow, reduce unexpected shutdowns, and identify problems before they become serious. The exact maintenance interval depends on whether the compressor is oil-lubricated or oil-free, its operating environment, and the hours of use. Dusty workshops, high humidity, frequent cycling, and heavy production loads may require closer inspection than occasional light-duty use. The manufacturer’s maintenance schedule should take priority over a generic checklist.
| Maintenance Item | Suggested Check | Why It Matters |
| Air tank and condensate drain | Inspect and drain at the interval specified in the manual | Helps control moisture accumulation and corrosion |
| Intake filter | Inspect and clean or replace as instructed | A restricted filter can reduce airflow and increase operating strain |
| Pump oil, where applicable | Check level and change according to the specified interval | Supports proper lubrication and reduces wear |
| Hoses and fittings | Inspect for leaks, cracks, abrasion, and loose connections | Helps prevent air loss and hose-related hazards |
| Safety relief valve | Check according to the manufacturer’s procedure | Helps ensure the pressure-protection system remains functional |
| Electrical components | Inspect visible cords, plugs, switches, and connections | Helps identify electrical damage before operation |
| Unusual noise or vibration | Check during normal operation | May indicate loose parts, wear, or a developing mechanical fault |
Before maintenance or repair, switch off and isolate the electrical supply, prevent unexpected restarting, and release stored pressure as directed by the manufacturer. Never open the tank, adjust the pressure switch, or attempt an improvised repair to a pressure-protection device. Tank damage, electrical faults, and repairs involving pressurized components should be assessed by qualified personnel.
Common Mistakes to Avoid
Many problems with electric compressors arise from a mismatch between the equipment and the task, rather than from a defective machine. For example, selecting a compressor solely based on tank size or maximum pressure can result in inadequate airflow, frequent motor cycling, and poor tool performance. Similarly, using a hose with an unsuitable internal diameter or restrictive fittings can cause pressure drops, even if the compressor itself is capable of supplying sufficient air. For demanding applications, it is important to consider factors such as delivered airflow, duty cycle, air quality, and the combined demand of all connected tools.
Other avoidable mistakes include neglecting condensate, blocking cooling vents, using an unsuitable electrical supply, ignoring leaks, and increasing regulator pressure to compensate for tools lacking sufficient airflow. Operators should also avoid using ordinary compressed air from a workshop for breathing, medical, or other specialised applications, unless the system has been specifically designed, treated, monitored, and approved for that purpose. The intake location and air treatment requirements are critical when compressed air is used in applications where air purity affects health or product quality.
Frequently Asked Questions About Electric Compressors
- How do you use an electric compressor for the first time?
Read the manufacturer’s manual, inspect the unit, confirm the electrical supply, and connect a compatible hose and tool before starting the machine. Allow pressure to build, set the regulator to the tool’s specified operating pressure, and monitor the system during a controlled test.
- What pressure should I set on an electric compressor?
Set the outlet pressure according to the connected tool’s operating specifications, not the compressor’s maximum tank pressure. If performance remains inadequate, check airflow capacity, hose restrictions, and leaks instead of exceeding the tool’s rated limit.
- Can an electric compressor run continuously?
Only if its design, duty cycle, cooling system, and operating conditions permit continuous operation. Check the manufacturer’s rating, because some portable compressors are intended for intermittent use and may overheat under sustained demand.
- Do I need to drain an electric air compressor after use?
Many tank-type air compressors accumulate moisture that should be drained according to the manufacturer’s instructions. Regular condensate removal helps reduce corrosion risk, but the correct shutdown and draining procedure varies by model.
- Why is my electric compressor running but not building pressure?
Possible causes include air leaks, a restricted intake filter, a faulty valve, a damaged seal, or a pressure-control problem. Switch off the machine if performance is abnormal, isolate the power, release stored pressure as instructed, and arrange qualified service if the cause is not readily identifiable.
- Can I use an electric compressor for spray painting?
Yes, if the compressor supplies the spray gun’s required pressure and airflow and the compressed air meets the coating process’s quality requirements. Suitable moisture and contaminant filtration, ventilation, and appropriate respiratory protection may also be necessary, depending on the coating and workplace conditions.
Conclusion
Using an electric compressor correctly requires more than just switching on the motor and connecting a hose. Operators must inspect the equipment, provide a suitable electrical supply, and match the compressor’s airflow and pressure to the tool. They must also control stored pressure during shutdown and maintain the tank and safety components according to the manufacturer’s instructions.
In workshops and industrial facilities, the most reliable results are achieved by matching compressor capacity to the actual workload and establishing a consistent inspection routine. If the application involves continuous production, multiple pneumatic tools, specialised air quality, or unusual operating conditions, consult the equipment manufacturer or a qualified compressed air specialist before choosing or modifying the system.